What is a Workspace?
A Workspace is your team’s shared home inside First Answer. Every brand you monitor, every prompt you track, and every analysis you run lives inside a workspace — and everyone you invite to that workspace can access all of it together. When you create your First Answer account, a personal workspace is created for you automatically. You can rename it, invite teammates, and manage access from the Workspace settings page.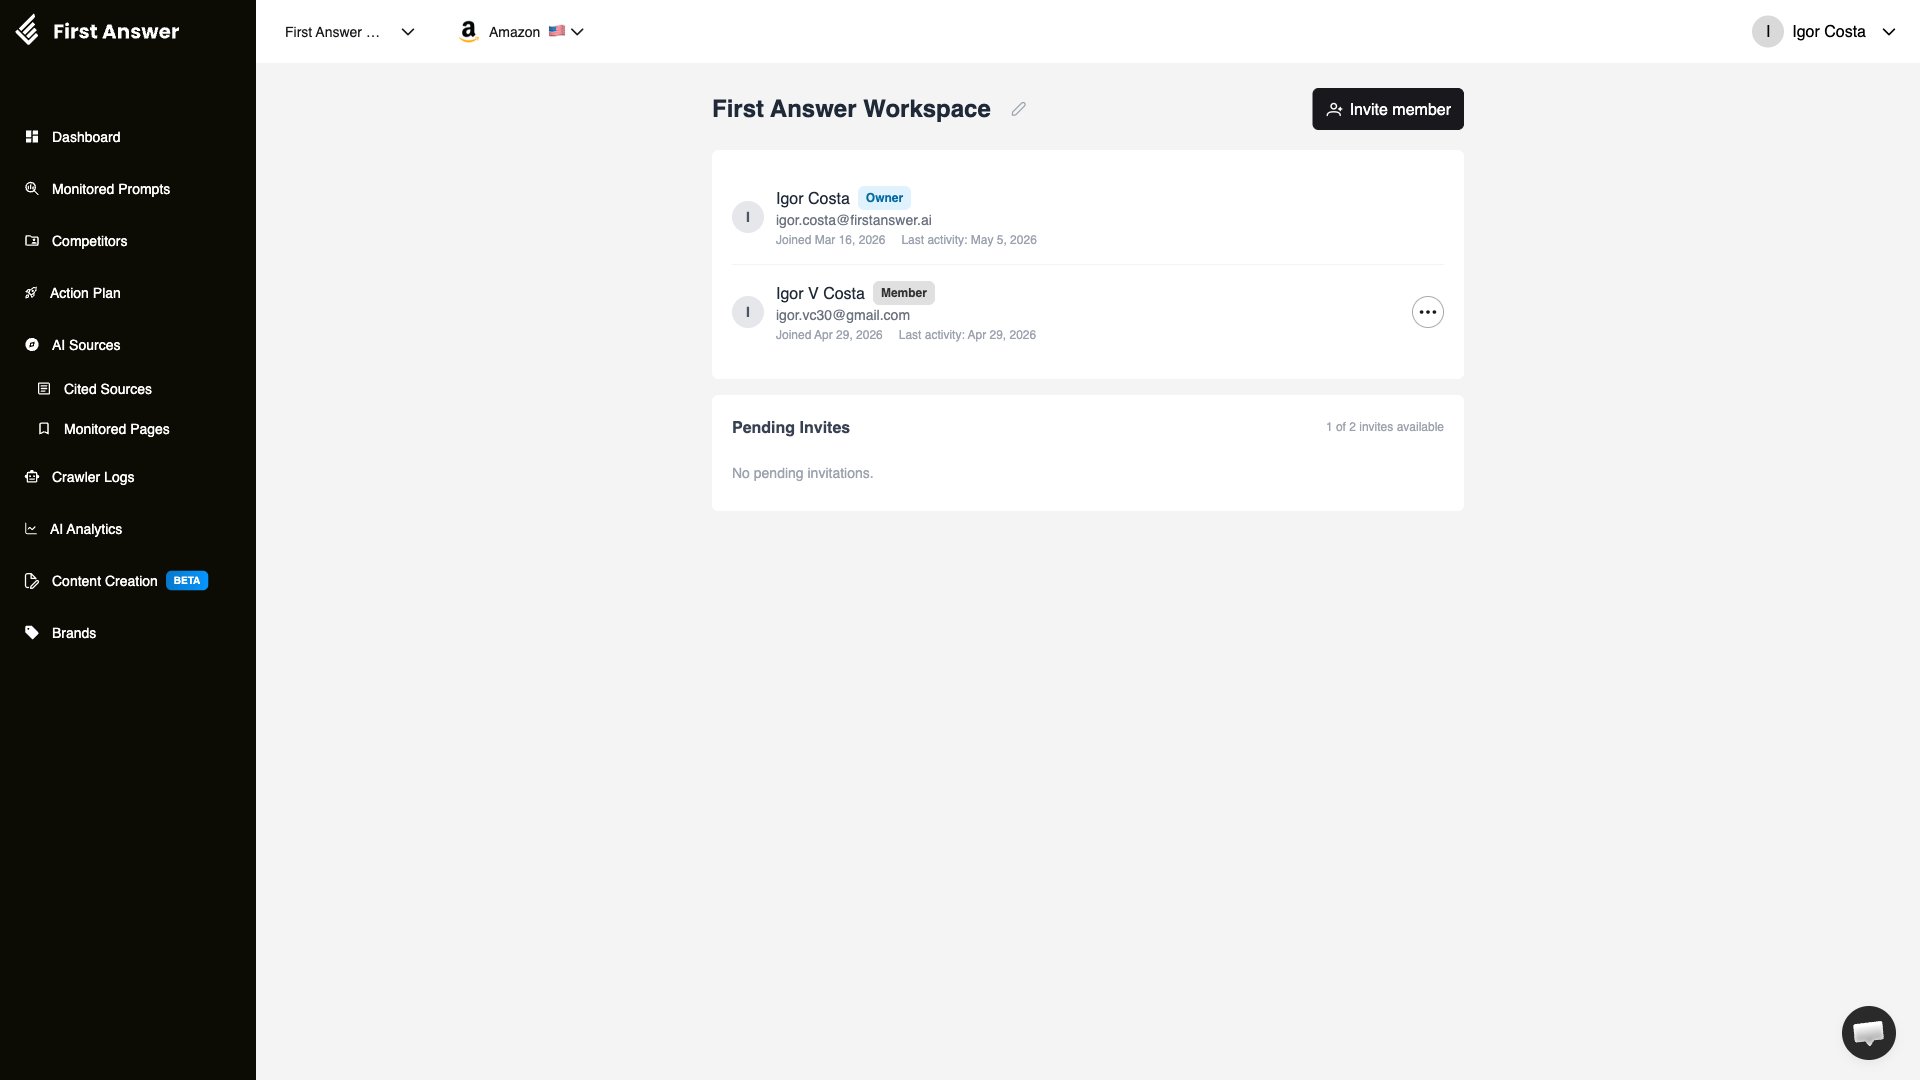
Switching workspaces
If you belong to more than one workspace — either as the owner or as a member invited by someone else — you can switch between them using the workspace selector in the top navigation bar.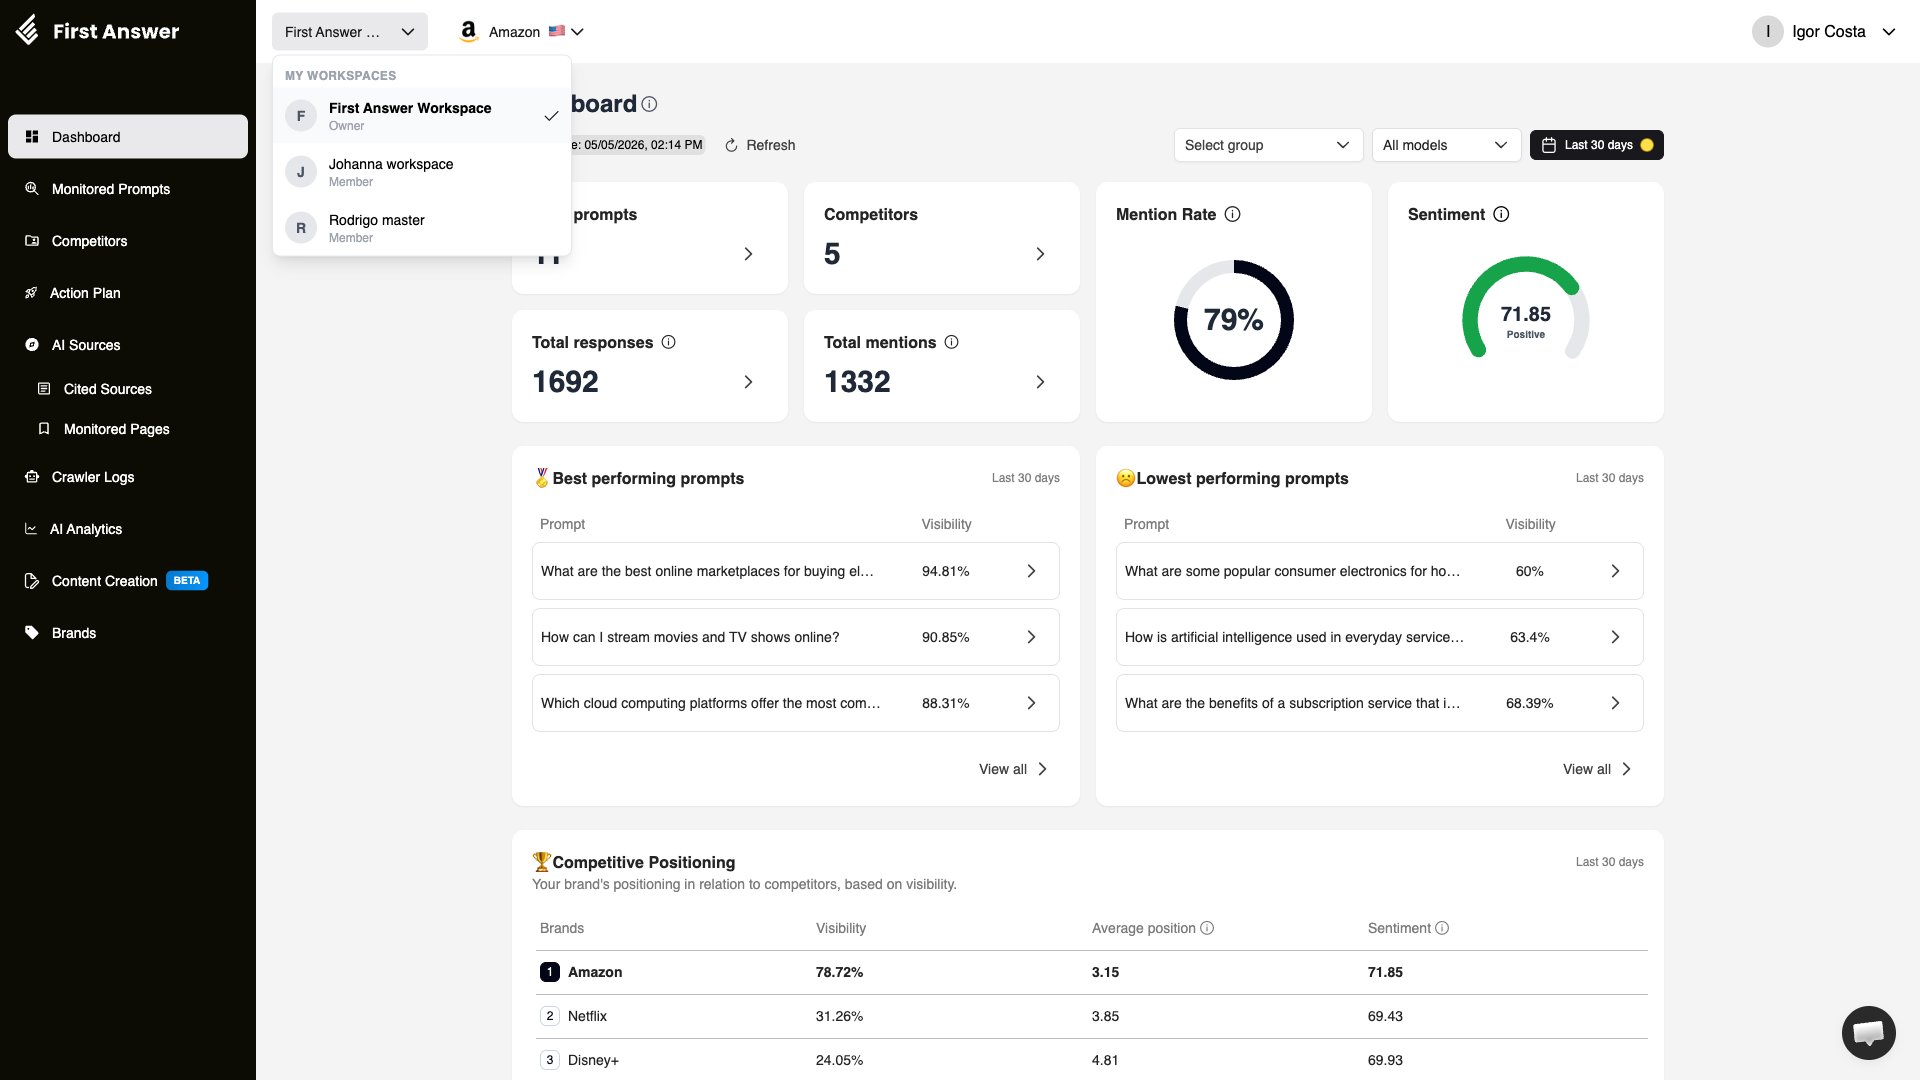
Each workspace is fully independent. Brands, monitored prompts, analyses, and members are not shared across workspaces.
Roles
Every workspace has exactly two role types:| Role | What they can do |
|---|---|
| Owner | Invite and remove members, rename the workspace, manage pending invites, access billing |
| Member | View and use all brands, prompts, and analyses within the workspace |
Accessing Workspace settings
To open the Workspace settings page, click your name in the top-right corner. A dropdown menu appears — select Workspace.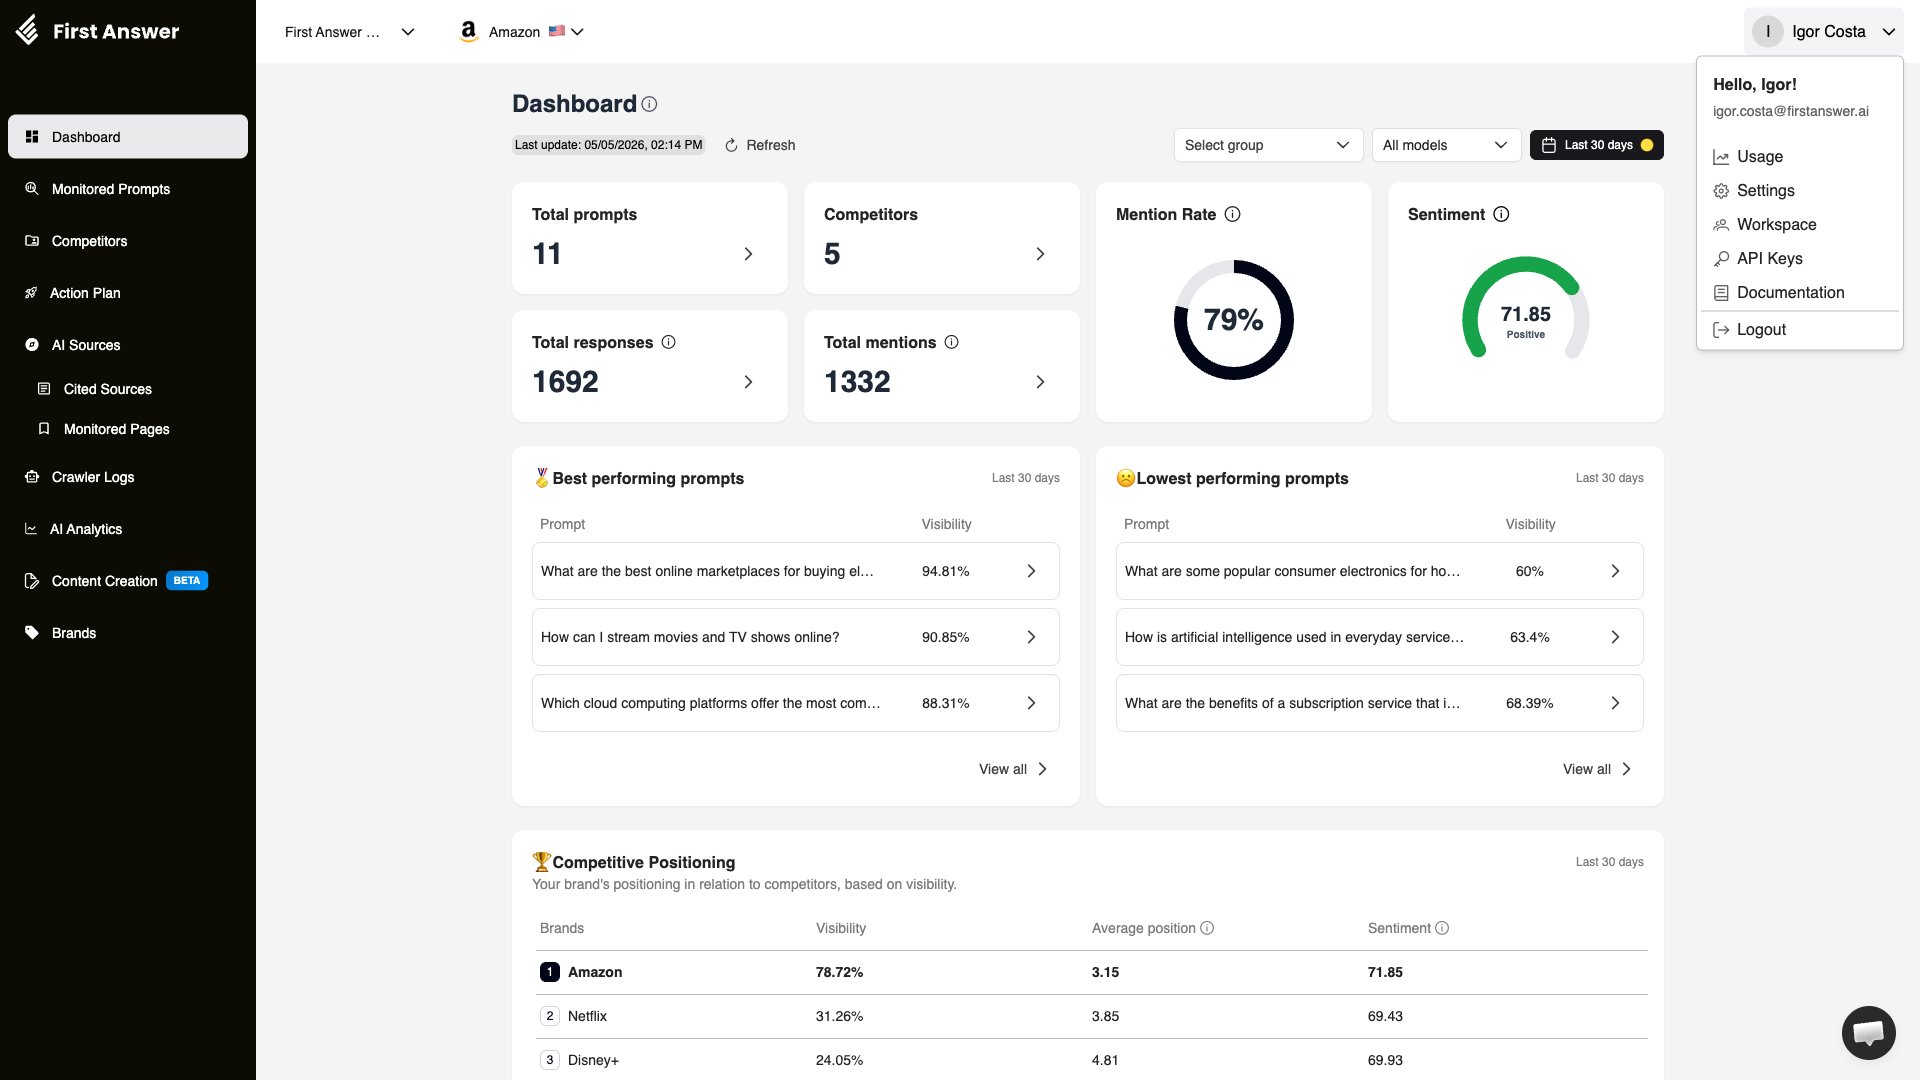
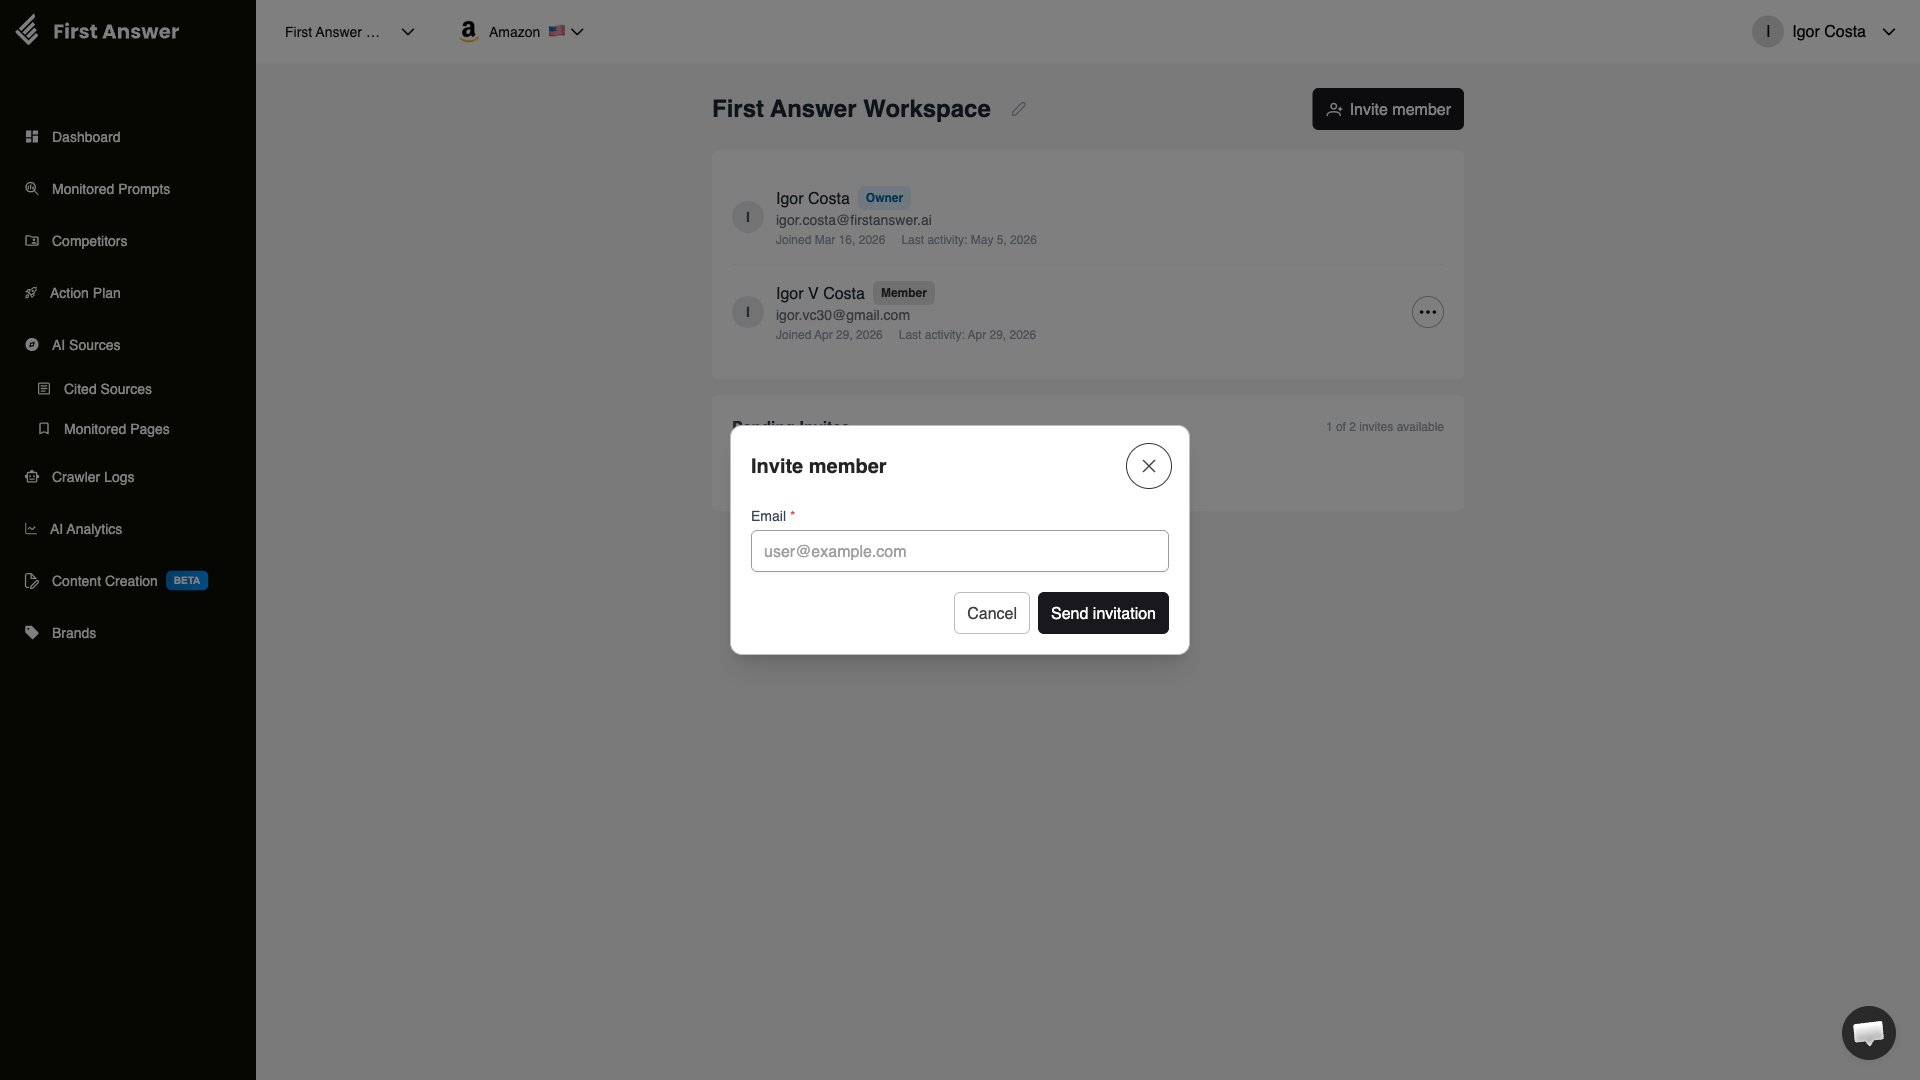
Inviting members
Only workspace owners can send invitations. To invite a teammate:Open Workspace settings
Click your name in the top-right corner, then select Workspace from the dropdown menu.
Invite links are tied to the email address they were sent to. Forwarding the link to a different email will not work — the recipient must sign up with the exact email address the invite was sent to.
Seat limits
The number of people you can have in your workspace depends on your plan. The seat count includes:- Active members (the owner does not count toward the member seat limit)
- Pending invitations that have not yet expired
Managing members
From the Workspace settings page, owners can manage the full member list:- View member details — each row shows the member’s name, email, role badge, join date, and date of last activity
- Remove a member — click the ··· menu next to any member and select Remove. Their access is revoked immediately
Managing pending invites
Invitations that have been sent but not yet accepted appear in the Pending Invites section of the Workspace settings page. From there, owners can:- Resend — generates a fresh invite link and sends a new email. Also resets the 7-day expiry timer
- Revoke — cancels the invite so the existing link stops working